Create a Silhouette With iPiccy In 5 Easy Steps!

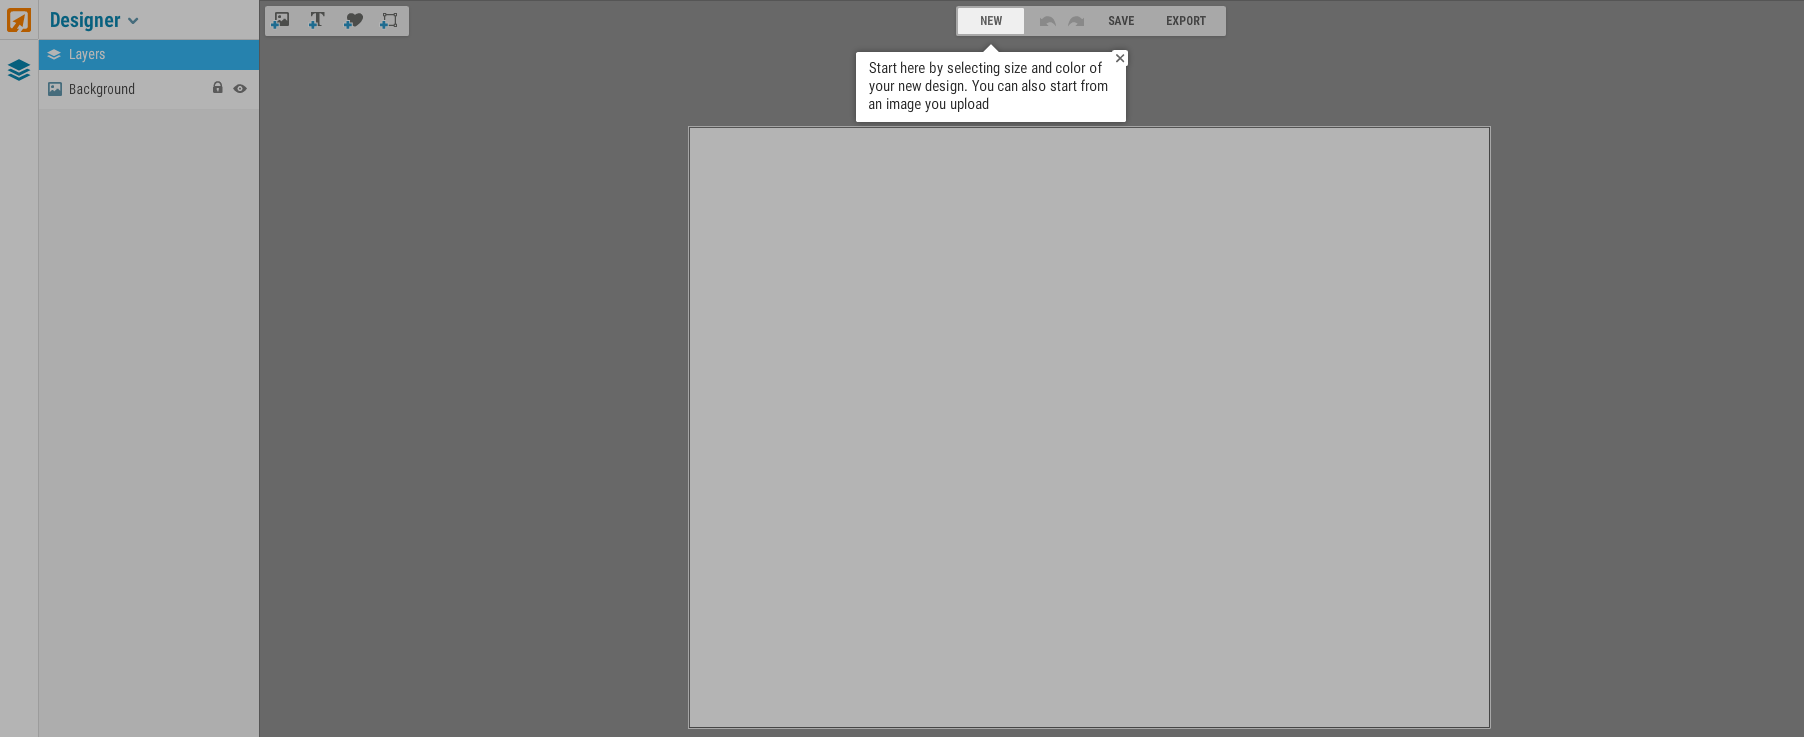
STEP 1: GO TO IPICCY.COM AND CLICK ON THE “CREATE NEW DESIGN” BUTTON.
It is the third option when you open iPiccy.com, after you do so the website will then begin to guide you on how to start. It will ask you click on the new button at the top middle.
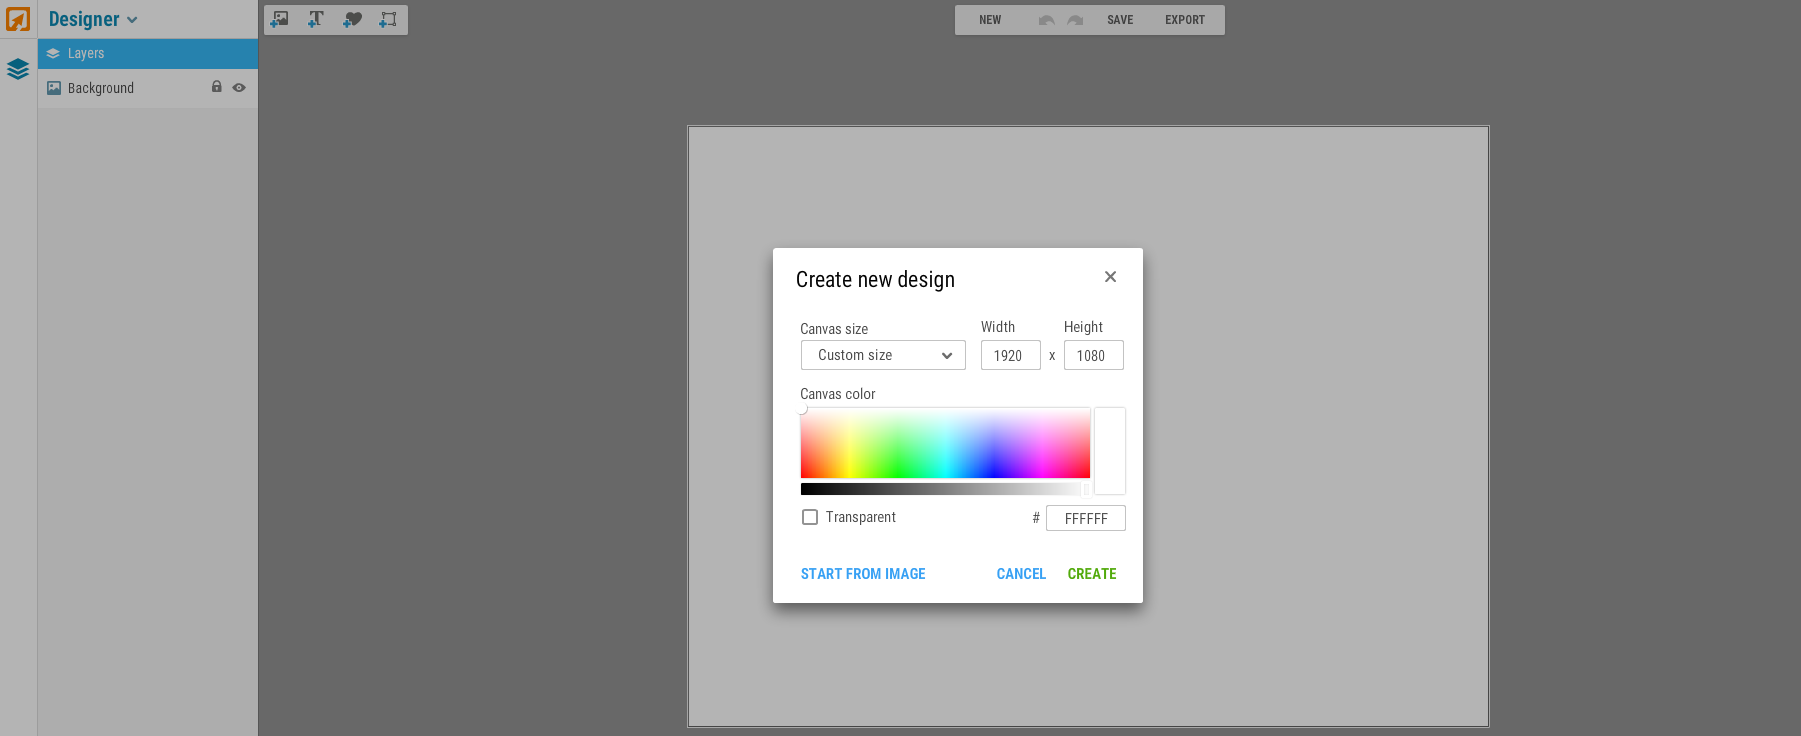
Here you can either upload your base photo you want to work with or you can set constraints for size. This part is largely up to you and what you want to do.
STEP 2: BEGIN VECTOR MASKING.
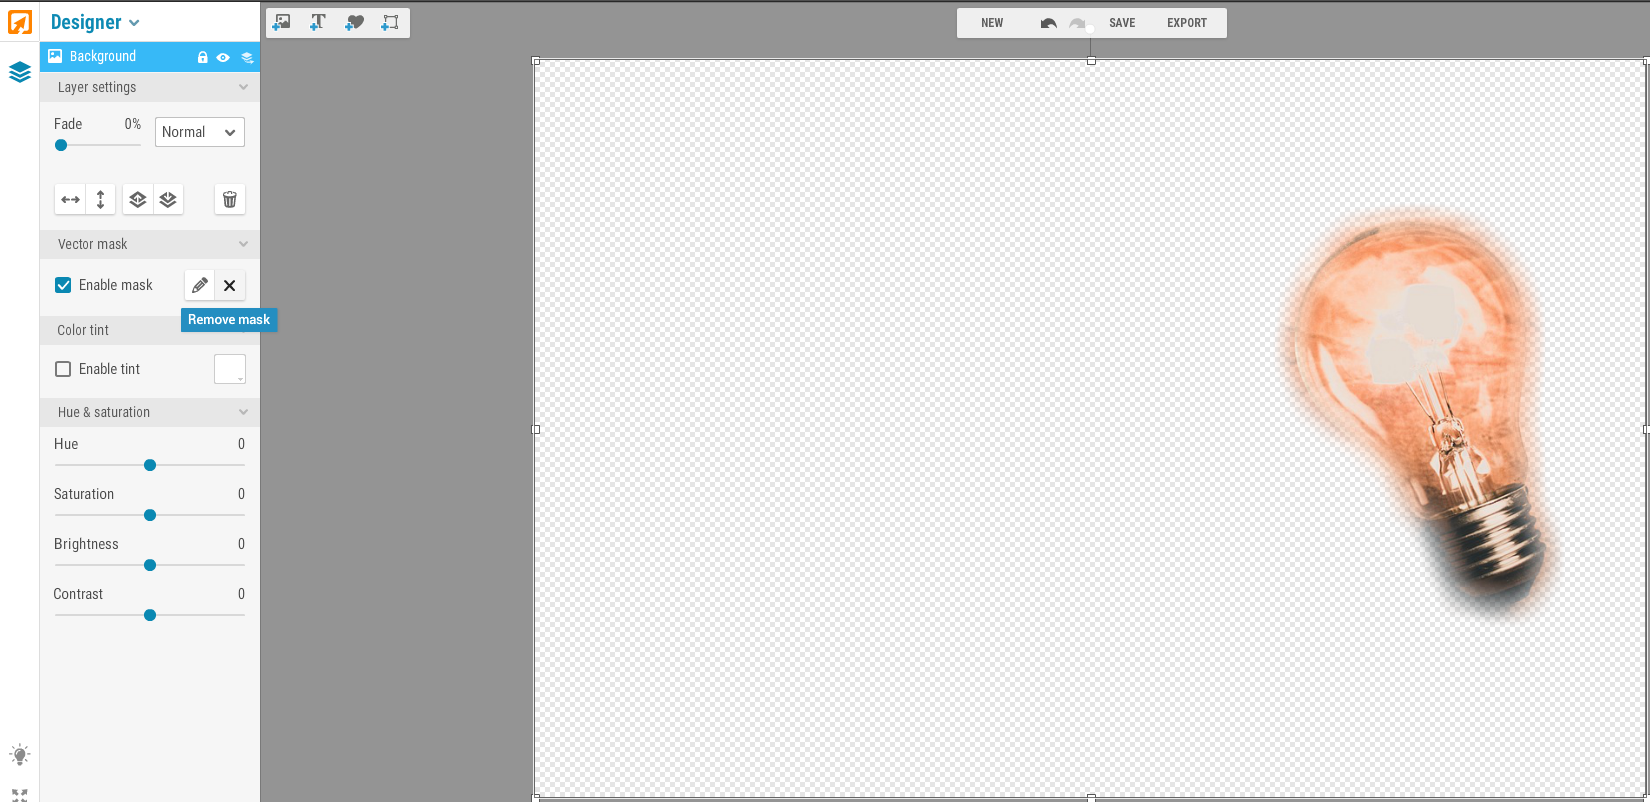
This is step 2 assuming you’ve either uploaded a photo with the size you want to work with or you already set your work space to the size you need. To begin vector masking you will click on the layer that your picture is on and then when the dropdown appears click the + sign to add mask.
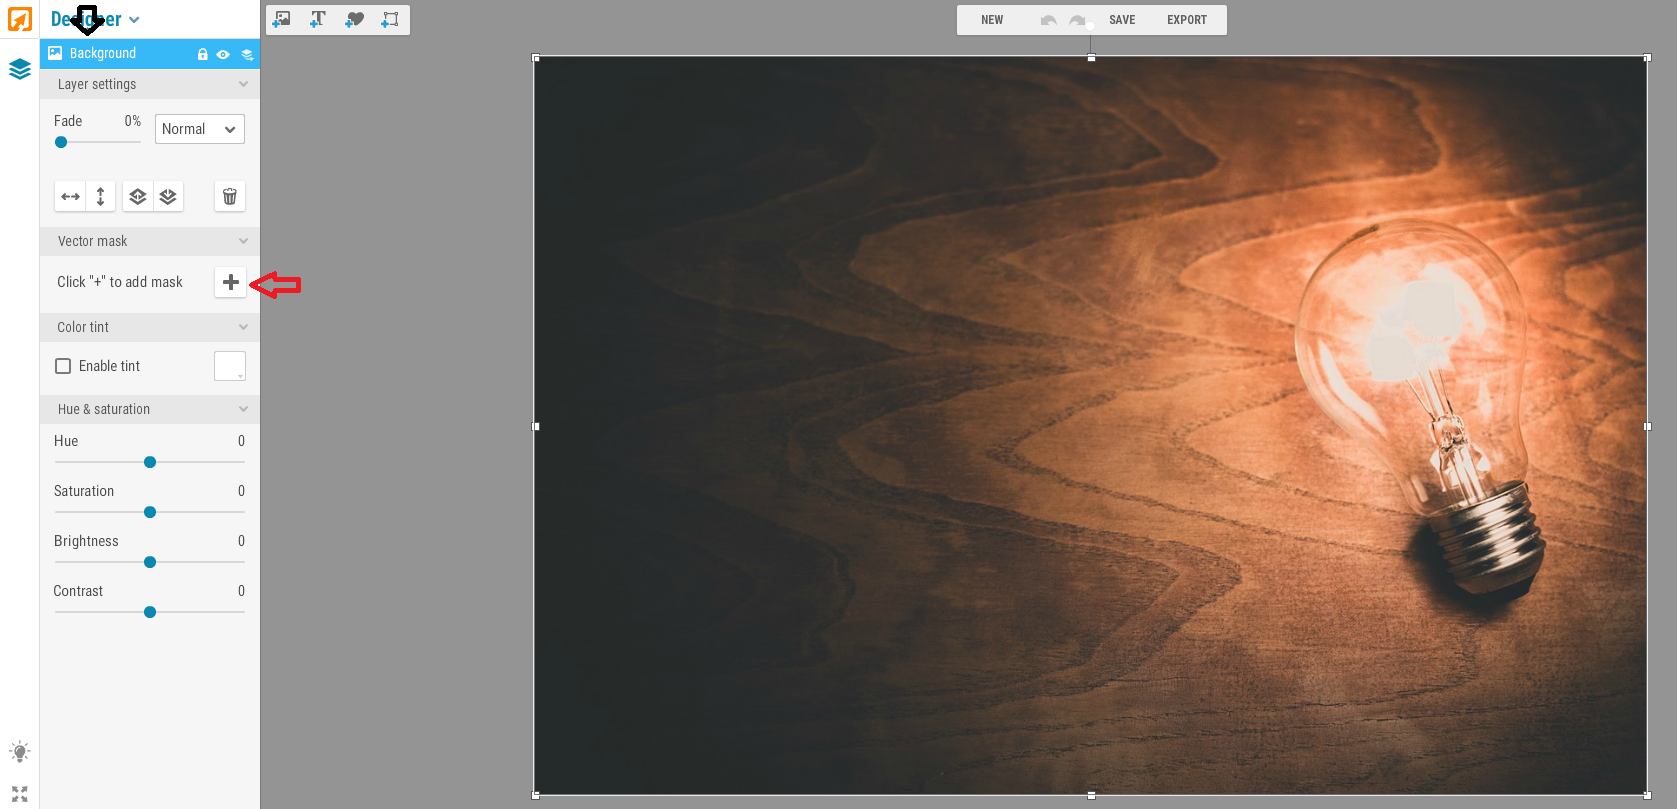
The black arrow is to access the dropdown menu. The red arrow represents how to start vector masking.
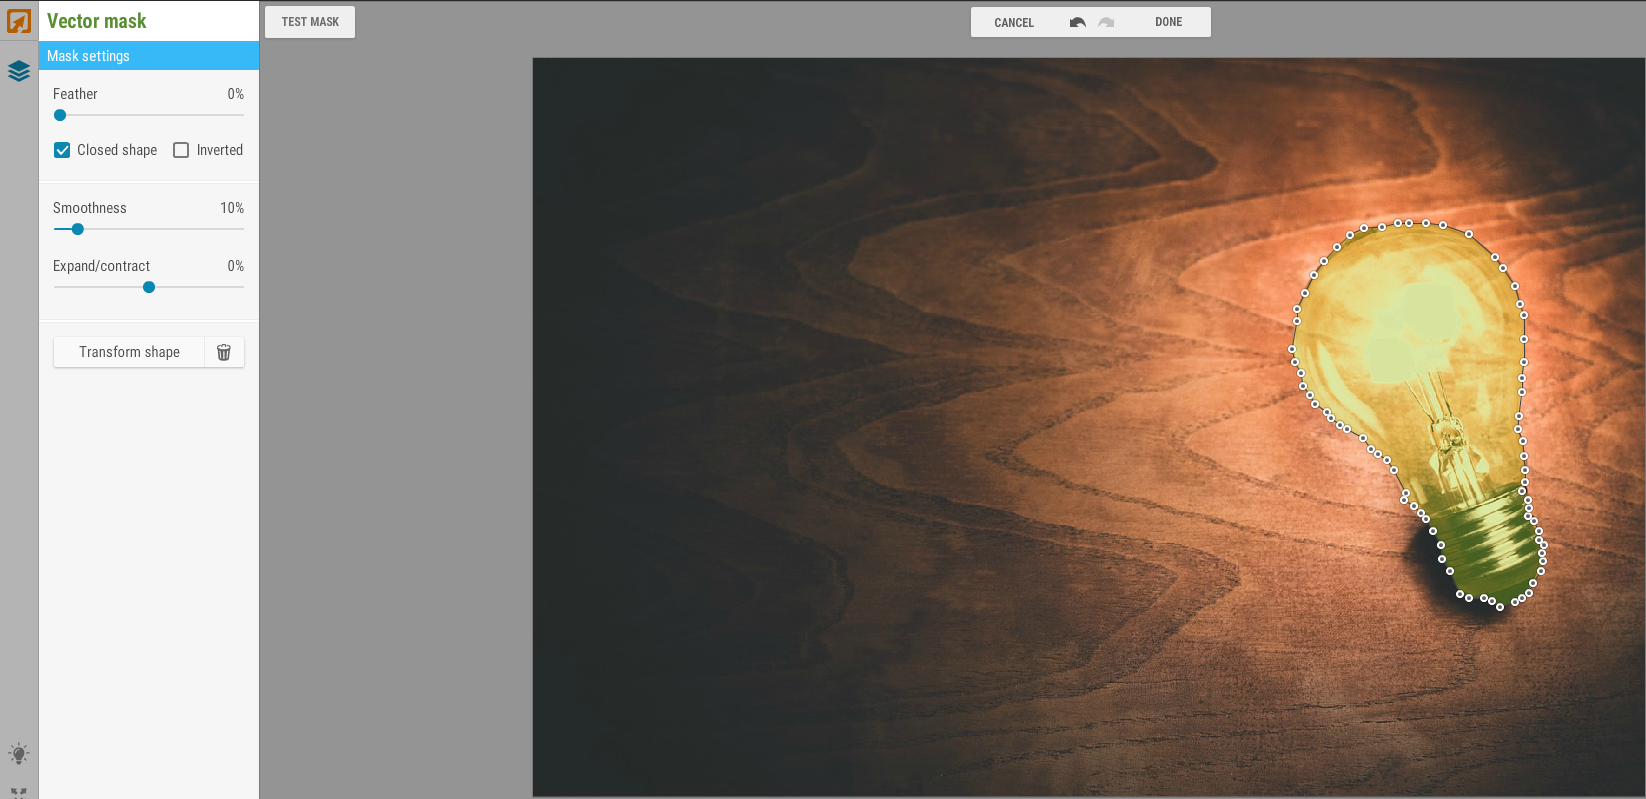
iPiccy will then ask you if you want to start with a shape or if you’d like to start clicking to trace and vector mask your object. This is largely preference, and I like to start from scratch.
This technique “Vector Masking” is a little bit advanced, but is quite simple when you understand the hang of it. You will be tracing around the part of the picture that you want to remove from the background. You will add small dots around the area you intend to make a silhouette. In my example I will be working on tracing out the lightbulb.
Vector masking in and of itself is a very useful technique to be familiar with. It should look like this after you’ve closed your vector mask:
STEP 3: FINISHING TOUCHES AND APPLYING THE MASK
You can move each individual dot to make it as precise as possible. You can also use the “feather” tool on the left under “Mask Settings” to smooth the edge of your image. Click on “TEST MASK” on the top left, iPiccy will provide a preview to help you decide if that is what you want your mask to look like. If you are satisfied with your mask, click on “DONE” at the top middle.
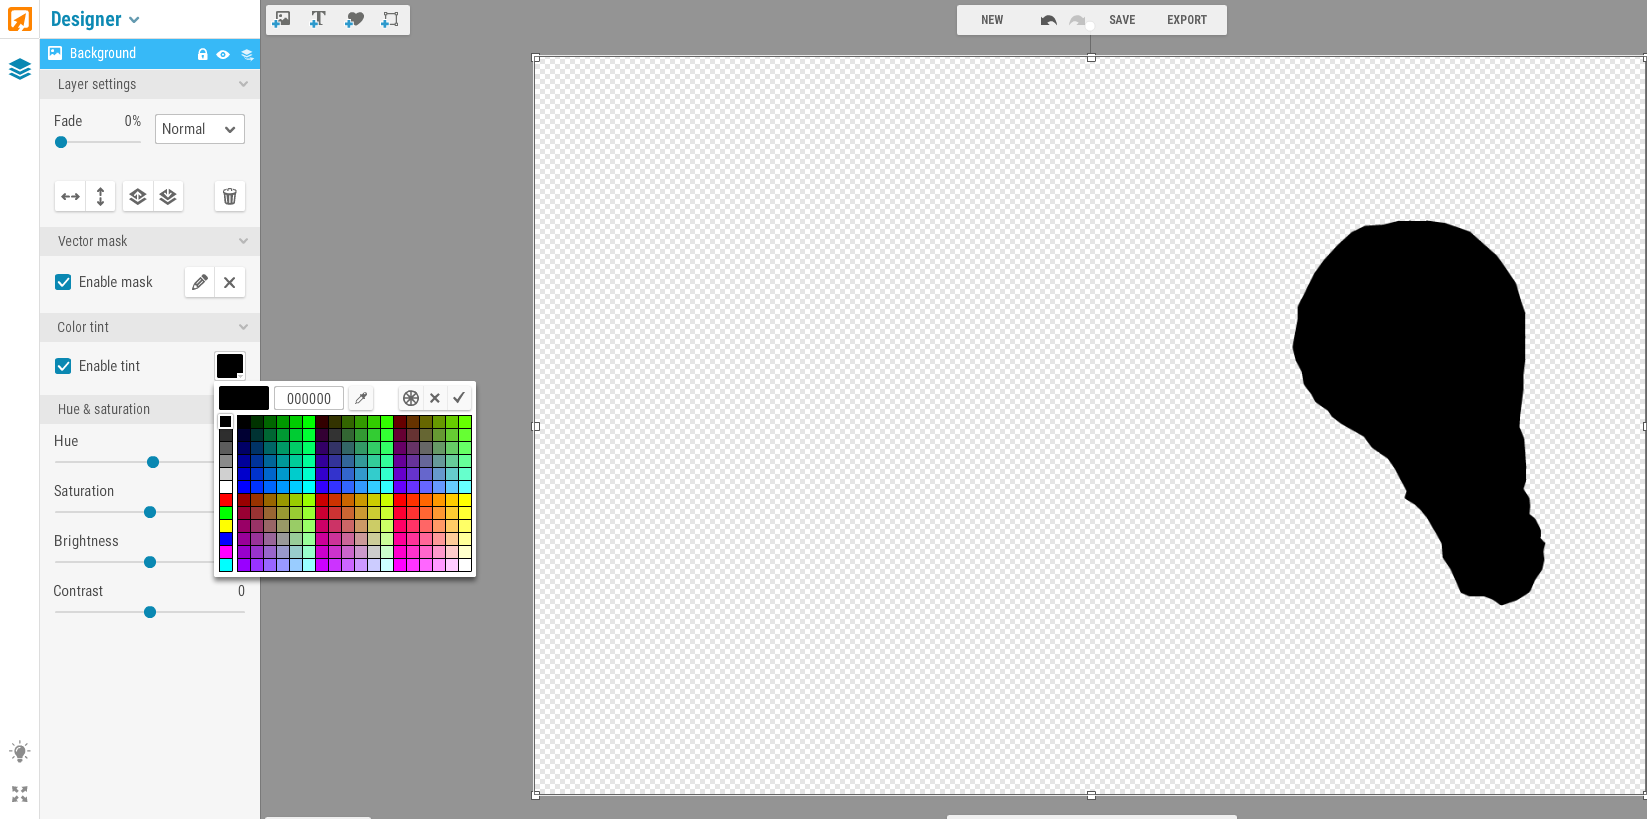
STEP 4: APPLY A COLOR TINT TO YOUR IMAGE
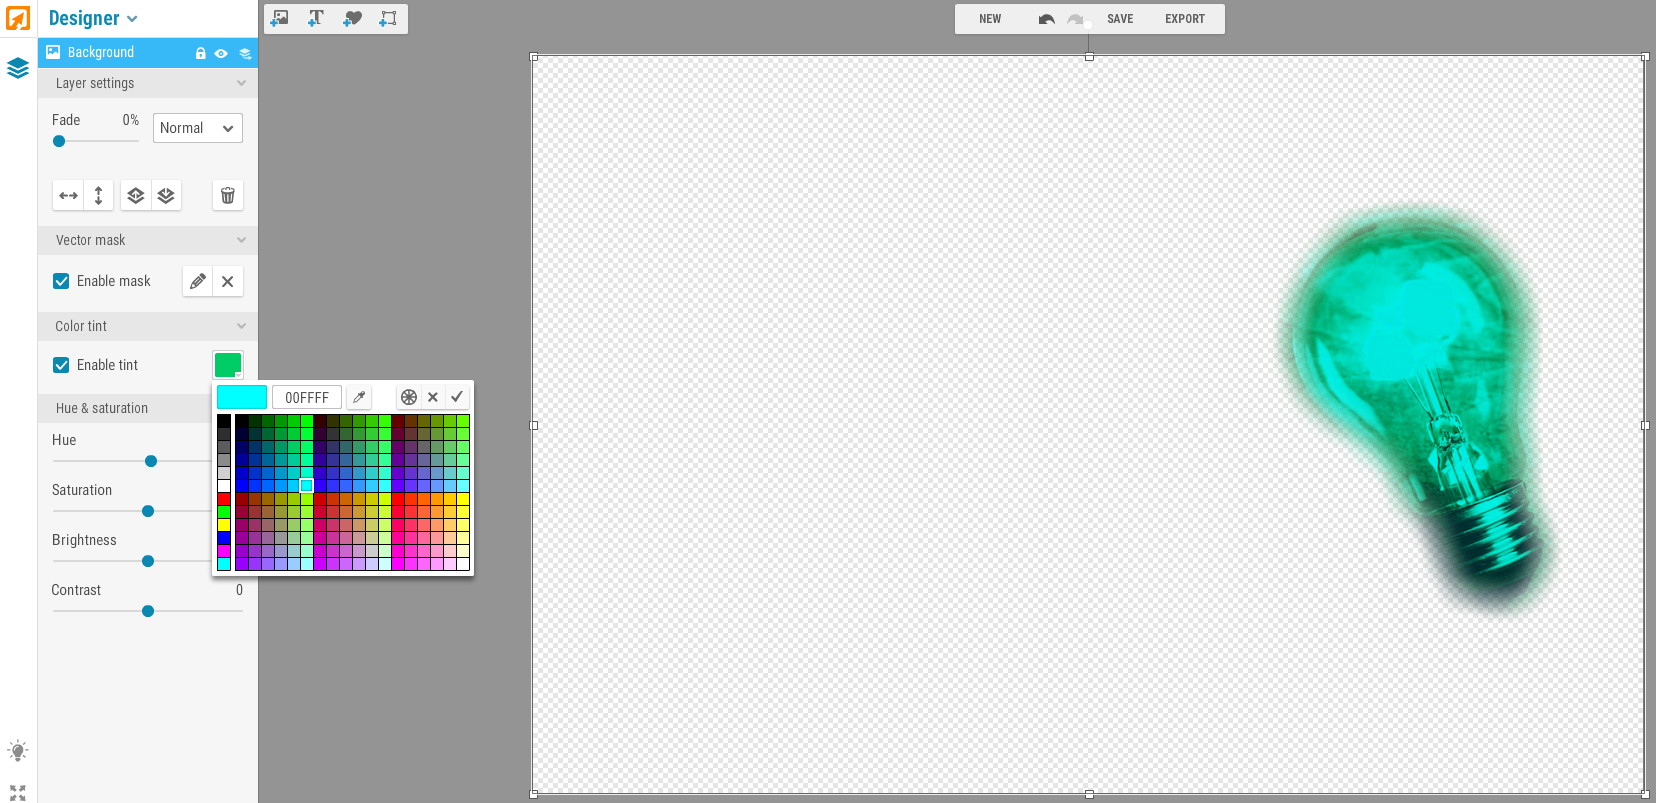
Click anywhere on the color band to change the color. Slide the slider to black in order to create a silhouette image.
Obviously it would look better if my image wasn’t a lightbulb and was a more interesting object/model. You can save this image or upload a different image and layer it into the background. Thus opening a whole new range of possibilities with silhouettes.
However, while we’re here, you can control color and overlay any tint you want. Black was simply for the silhouette example.
STEP 5: CLICK THE “SAVE” BUTTON AT THE TOP MIDDLE. YOU ARE DONE!
Congrats! You now have a silhouette image that you can add to other backgrounds or keep for other purposes.