The Toolbox: Photo Effects
The Toolbox is going to be a series of articles in which we go one by one discussing the tools available in iPiccy Photo Editor and we’ll talk about the strengths, weaknesses, and appropriate times to use these tools. Last time we talked about the Clone Tool, but today we’re talking about the The Photo Effects Tab.
The Photo Effects Tab is honestly a pretty straightforward tab to use, and just takes a little experimenting with the various effects on the tab. After using the sliders a bit on each effect, it should quickly give you an idea of what that particular effect does and how much you can adjust it. With that being said, I’ll just provide an overview for the sections of the Photo Effects Tab.
Basic Photo Effects
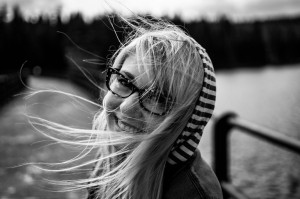
The basic section is the section of filters you will see on almost any picture taking/photo editing program/app. We’ve discussed the Black and White Photo effect before, and the other effects are in that same vein of simply adjusting the color tone on top of your picture.
Area
These filters are a little more artsy in that you’re playing with focus, subject focus, and the idea is pretty much in the name. It changes an area of the photo. However, it leaves a section you want untouched, so it will blur, pixelate, or soften an area that you don’t want to be the focus.
Color
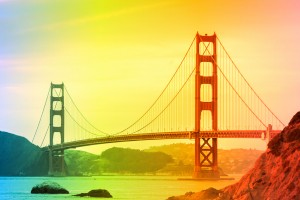
These filters add color. The are generally for people who want to represent some kind of message with coloring their photos. However, you can also make your colors hyper intense with the Vibrance effect.
Artistic/Textured/Misc
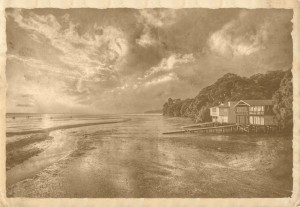
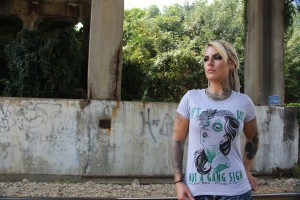
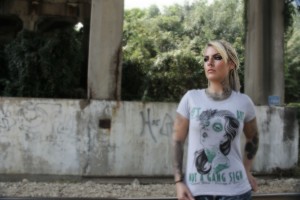
This doesn’t necessarily make the photo better, it just gives it the feeling of an old memory. 1 example of 15 in these sections.
These are the more cheeky filters you can use on iPiccy. These filters usually have to do with the holidays or currently popular ideas (misc), or pop culture esque filters(artistic). Textured filters are for giving your picture a look of a certain type of paper.
Advanced
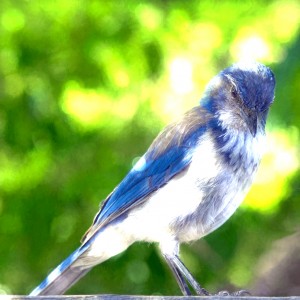
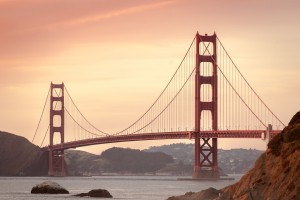
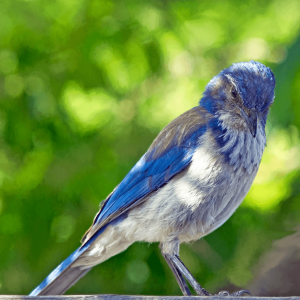
If you wanted to make the previous picture even more dream-esque, adding more bokeh can help accomplish that. 1 of 9 possible filters in this section.
Again as the name says, these are more time consuming. These effects also require having a certain type of photo in the first place. For example if your photo has absolutely no Bokeh in the first place it would be very difficult to get your desired effect from the Bokeh filter.

