The Toolbox: Crop Picture
The Toolbox is going to be a series of articles in which we go one by one discussing the tools available in iPiccy Photo Editor. We’ll talk about the strengths, weaknesses, and appropriate times to use these tools. The first tool we’re going to talk about is a very simple, straightforward, and very powerful, the Crop Picture Tool.
How To Use The Crop Picture Tool
- BEFORE you begin cropping anything, it’s very important to save a copy of the original separately. Once you crop something, outside of immediately hitting undo, it’s gone.
- Upload your image and open Editor tab.
- Click on Crop Picture tool.
- Adjust crop region with your mouse over the photo or create new crop region by left mouse click over empty area and dragging along.
- Hit Apply and it will cut out everything not in the highlighted region.
Okay, now let’s talk about when to use the Crop Tool.
Changing The Main Focus
The subject goes from an ensemble to a solo focus of one child looking off into the water.
Composition
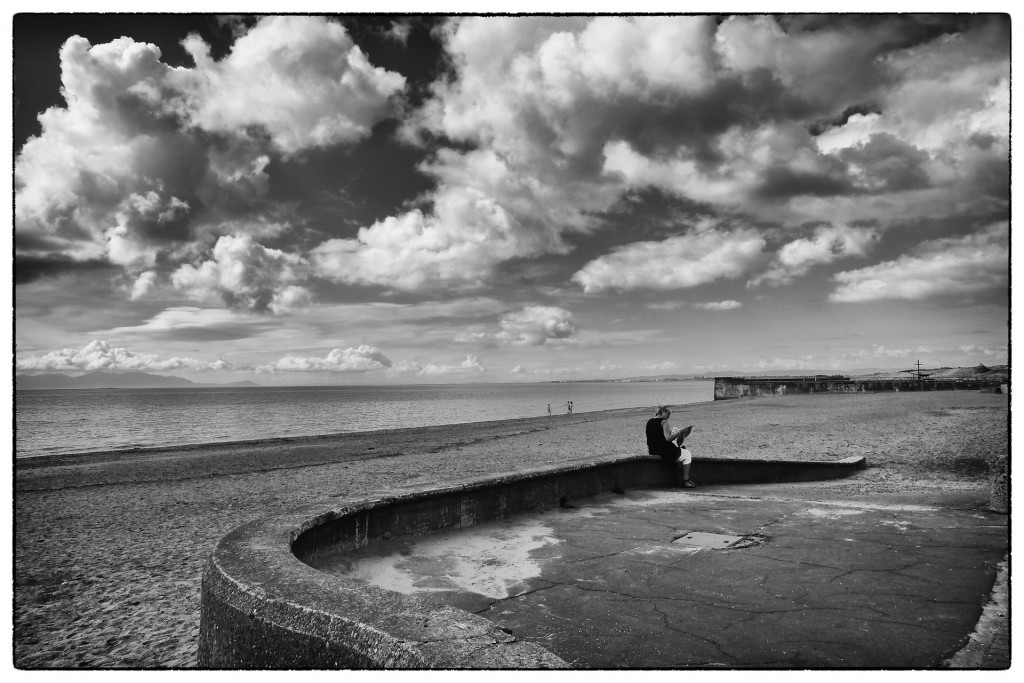
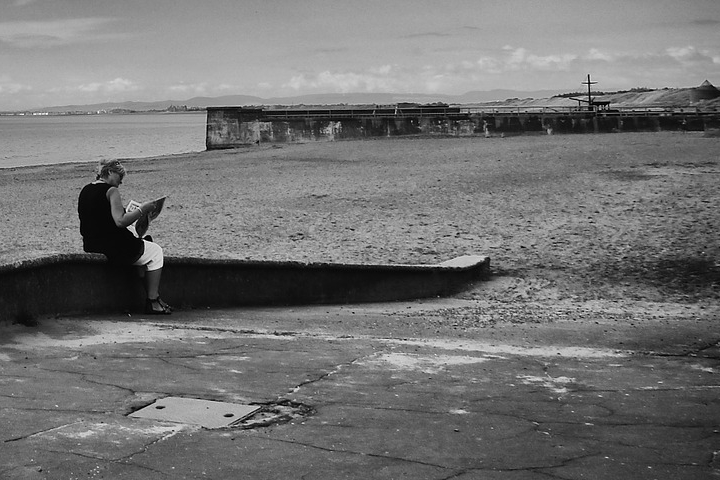
The composition is completely different by removing the overpowering and attention grabbing clouds, to now being more about the woman reading on an empty beach. I’ve changed the composition of this photo because I’ve changed what people see in this one moment grabbed by a photo.
Changing The Orientation or Aspect Ratio
Changing your picture’s aspect ratio or orientation before uploading it to various social networks will make the process much easier. For example, Instagram asks for photos to be in squares, Facebook cover photos are in rectangles, etc.
Capture A Close-Up
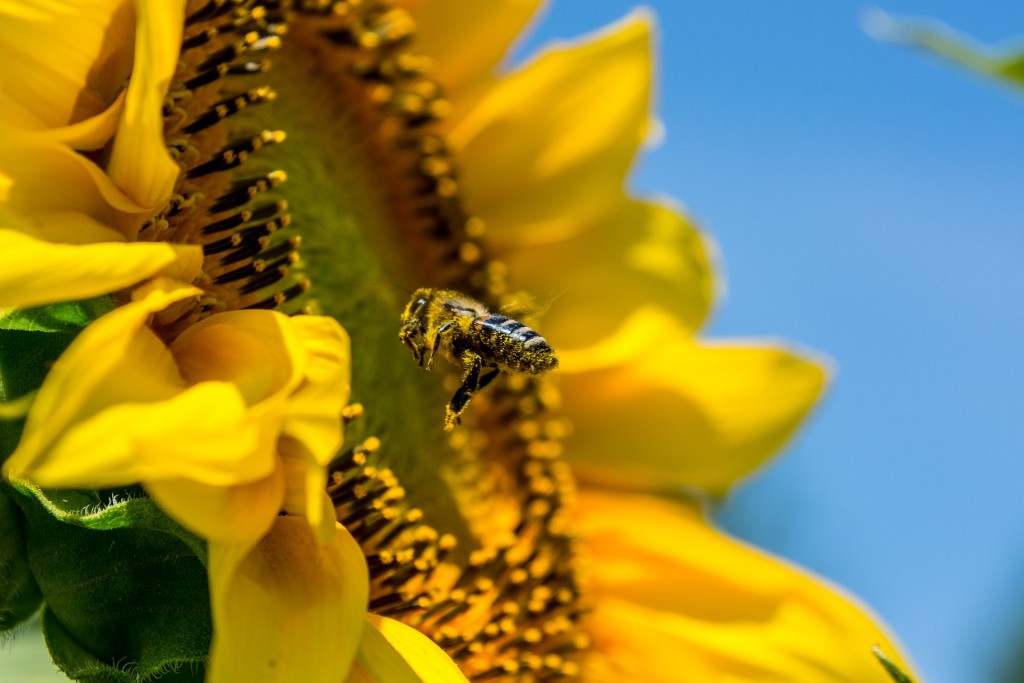
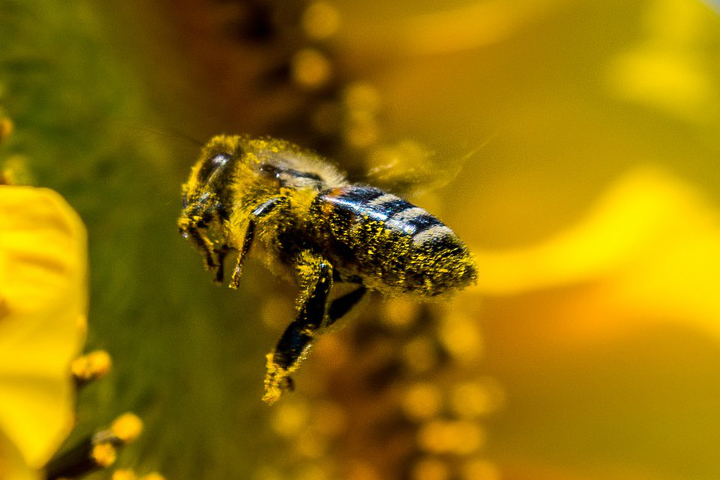
IMPORTANT NOTE – This is only possible because the original picture (1920 x 1080) had enough pixels for me to cut out a large chunk and still have a decent resolution (720 x 480).
Cutting Out Distractions
If you want someone to focus on a particular subject, cut out the distracting parts. In this case it’s the tall reeds that take up a large part of the photo and make the whole picture look very busy.
Now that you know what to do, time to start cropping!


