5 Ways To Use iPiccy to Create Ecommerce Product Images That Sell
In a retail store, buyers get to touch, feel and even try out a product before making a purchase. However, in an online store they have to rely on product photos to make a decision. If you don’t have great photos on your Ecommerce site, then you won’t be able to turn shoppers into buyers.
Here are 5 ways to ensure that your product images look stunning and drive sales for your business
1. Maintain a consistent look and feel
There are 2 styles of photography when it comes to creating product images. The first type is about showcasing your product in a white or colored background, from various angles. This helps users review the product in detail and get a clear idea of what they can expect when they buy it.
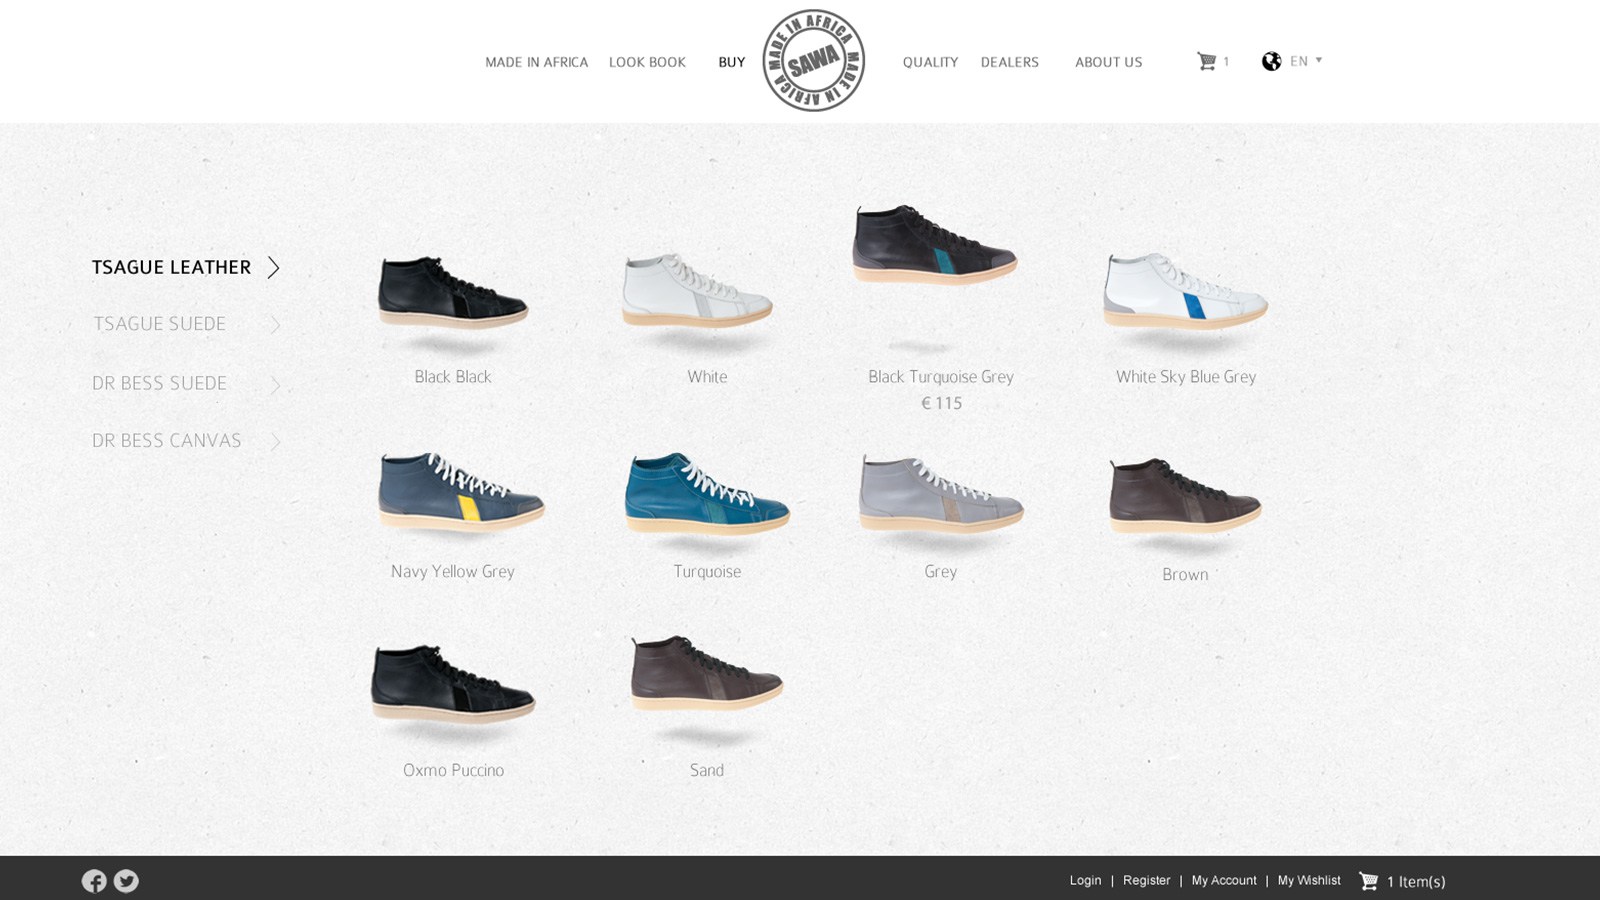
source:sawashoes.com
The second type is called ‘lifestyle photography’ and involves taking photos of actual people using your product in their day-to-day life. This helps shoppers imagine themselves using the product in various settings – outdoors, indoors, on-the-move, during day, night and so on.
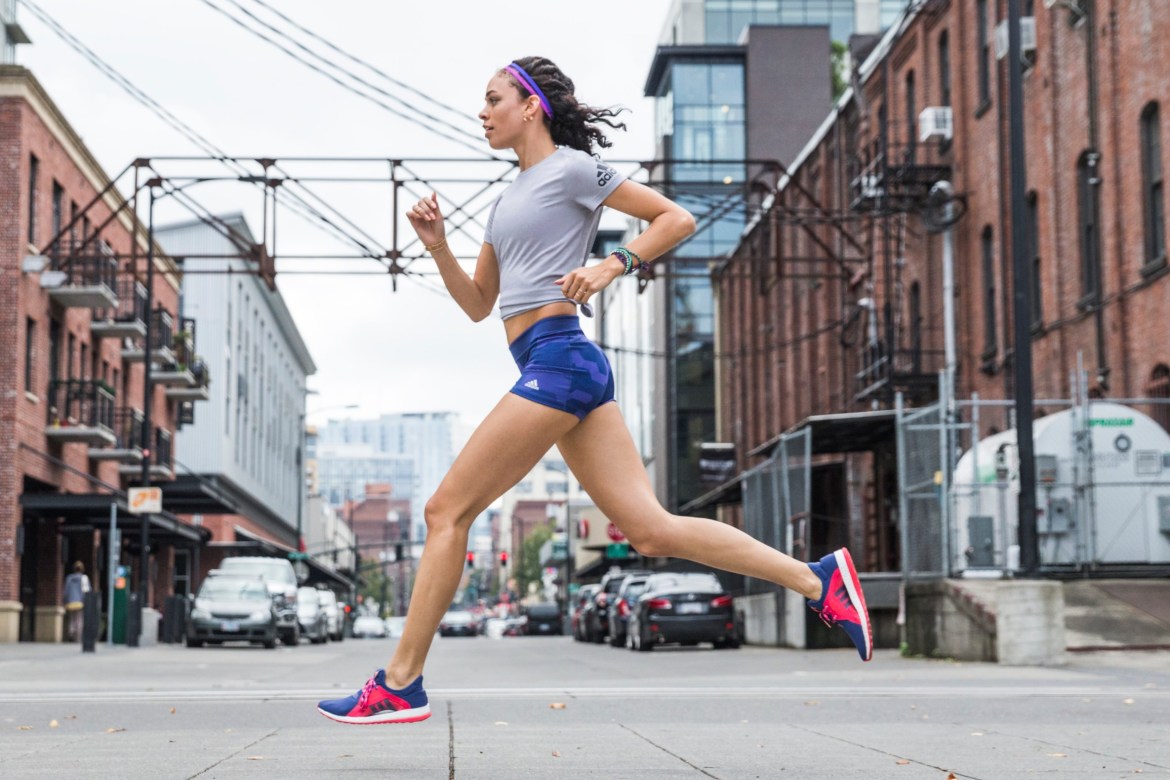
source:adidas.com
Try out different backgrounds with iPiccy’s Background changer. If you’re trying to add things from other pictures or delete parts, the Blender Tab is your best bet.
- Upload your photo iPiccy Photo Editor
- Open the Blender Tab which is the fourth tab at the top
- The Blender Tab has various tools for adjusting backgrounds and is a tab that will take more in depth learning, but each tool can change backgrounds.
- Save your work. You’re done!
Before you begin, make a list of all the various photographs you’ll take of your product – background & angles for product images as well as the locations and models’ poses for lifestyle images. Stick with it for all your products in a category. For example, use the same backgrounds & angles for all shoes in your online store. This will make it easy for people to quickly understand your products and compare them before making a decision.
2. Size your photos appropriately
Use large photos of your products, and provide the ability to zoom into your images. This will help shoppers get a detailed view of your product and examine it to their satisfaction, before making a purchase.
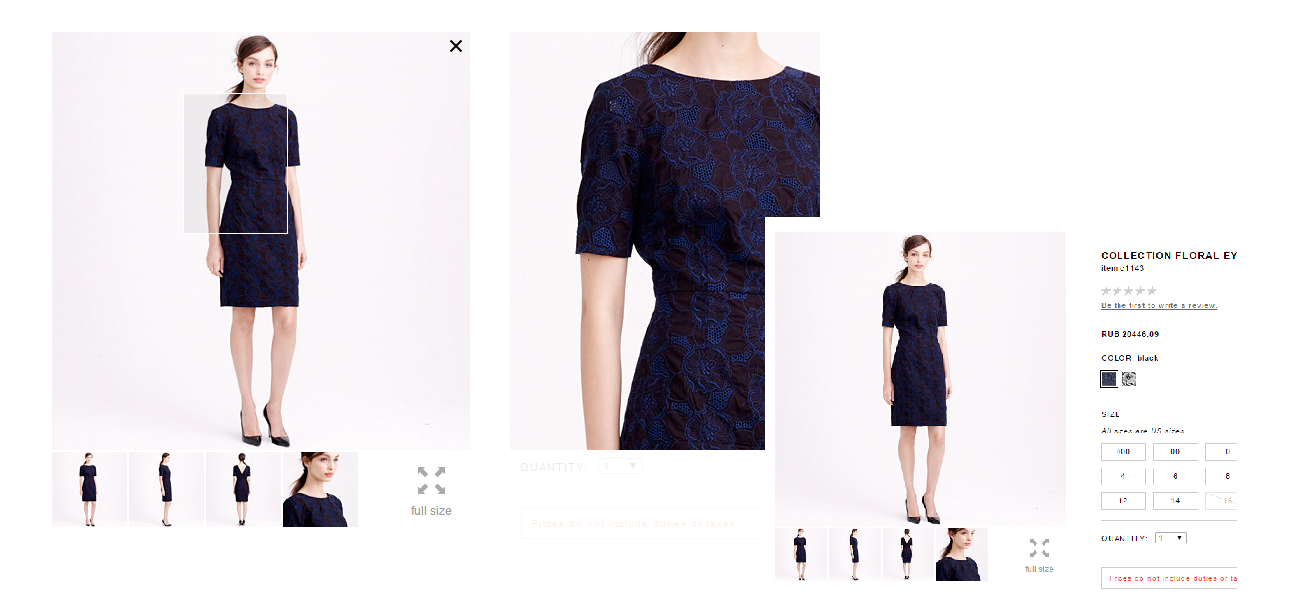
source:doridaweb.com
However, large photos can take a long time to load and slow down your website, thereby providing a poor user experience. So you can keep the longest side of your photos (width of horizontal images, and height of vertical photos) between 500px to 1000px. Bigger images may load slowly.
You can easily resize your images in iPiccy Photo Editor in just 4 steps:
- Upload your photo to iPiccy
- Click “Resize Image” (fourth option on the list).
- Pick the required dimensions.
- Save your photo.
3. Orient your images consistently
There are many places on your ecommerce website where you’ll need to list product images, such as on brand pages, category listings, and even search results. You’ll have to also display multiple images on each product page. So ensure that you maintain a consistent orientation for your product images.
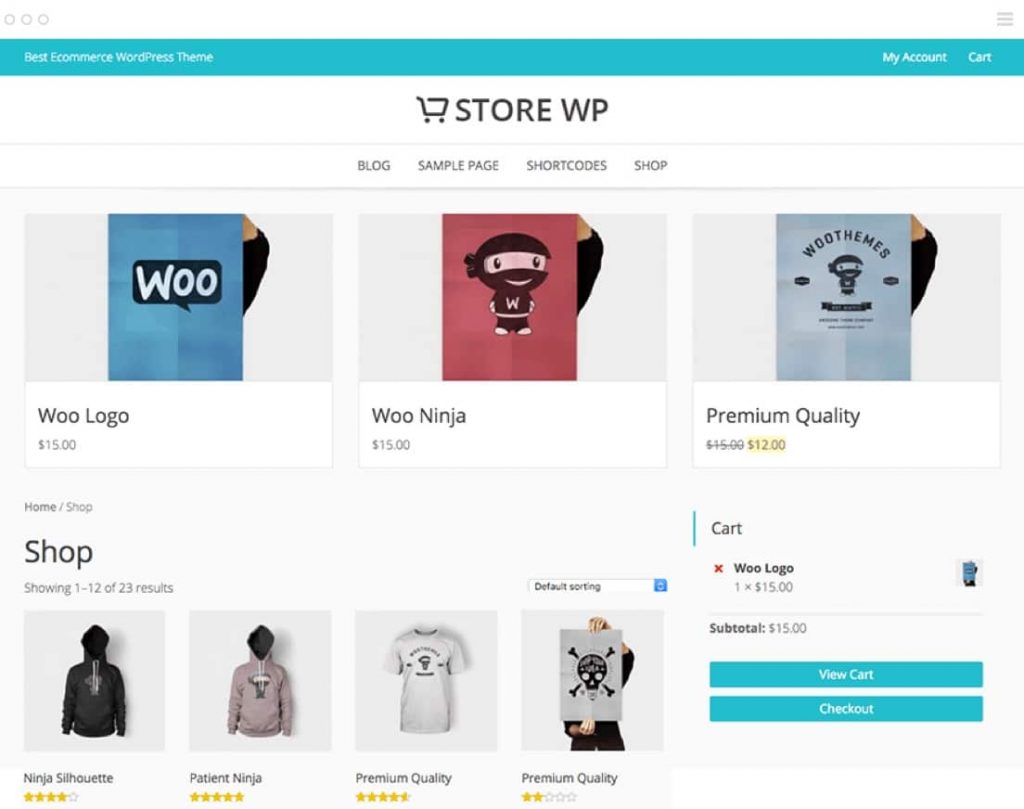
source:themegrill
For example, you can use vertical orientation for all your photos of apparels, and use horizontal photos for shoes. Even when you show multiple photos of one product, ensure that they’re oriented the same way – either vertically or horizontally. Avoid creating a hotchpotch of vertical, horizontal and square photos on one page.
Here’s how you can orient your images in iPiccy Photo Editor:
- Upload your picture
- Select “Rotate & Flip” (which is the fourth option on the basic editor tab)
- Rotate, flip, or straighten your image as you feel necessary, once you click any of the buttons once it’s very intuitive
- Save your photo
Unless your product photos really need a specific type of orientation (such as apparels always look great in a vertical orientation), it’s best to crop them to a square shape. Here’s how you can easily crop your pictures in iPiccy photo editor:
- Open your picture in iPiccy
- Select Crop Picture and pick your dimensions
- Move the highlighted area to the section you want to keep
- Crop out the non highlighted area and save your work!
4. Sequence your photos
The top ecommerce sites like Amazon and Target show multiple images of each product. In fact, they have a well-thought sequence of images that tells a story and persuades users to make a decision. For example, most products show a main image shot from the front view, followed by alternate views of the product shot from various angles.
Use various angles to highlight different aspects of your product (such as a the wooden grain on a table, or dress from the back, or the sole of a shoe, or a cabinet with doors open). Ask yourself which parts of your product, people would likely examine if they were to see it in-person. Display photos of all those aspects of your product.
source:bellroy.com
Next, think of all the objections and questions your shoppers are likely to have about the product. Will the dress look good at night? Show a photo of a person wearing it at a candlelight dinner? Can these shoes be worn in rain? Show an image of someone wearing them while running in the rain. The key is to display photos of people using your product in different scenarios, each of which can answer a potential concern for the buyer.
If you don’t know what kind of concerns your buyers have with your product, add a chat widget such as Olark or Zopim to interact with your site visitors and figure it out.
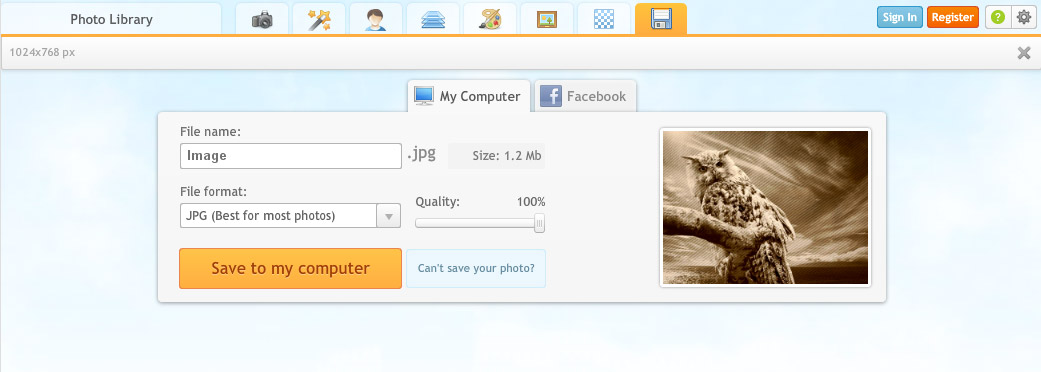
5. Use the appropriate file type
Save your product photos as JPGs, as they give the sharpest & clearest images. Use iPiccy to save your images “for the web” to ensure that their file size is optimized for web usage. Non-web JPGs are large in size and suitable for other mediums such as print. However, they can severely slow down your site and are not required for websites.
If you have any text on your photos, then save them with higher compression rate or quality level to avoid making them look blurry or pixelated.
If you have a text-only image then save your photos as GIFs or PNGs. They produce the sharpest text quality. If your photos have a transparent background, always save them as PNGs.
iPiccy provides a Save module that allows you to save photos as JPG or PNG, as well as determine the photo quality and control the file size.
Conclusion
The key is to put yourself in your buyers’ shoes and shoot product images that provide an immersive user experience, help shoppers clearly see what they’re buying and enable them to imagine using your products on a regular basis. Try out different angles, lighting, and props but use it consistently for all products. The above tips will help you create powerful images that compel people to buy your products.
Author Bio:
For more than 8 years, Sreeram Sreenivasan has worked with various Fortune 500 Companies in areas of Business Intelligence, Sales & Marketing Strategy. He regularly writes at Fedingo about a wide range of business growth & marketing topics. He’s also the Founder & CEO of Ubiq BI, a cloud-based BI Platform for SMBs & Enterprises.