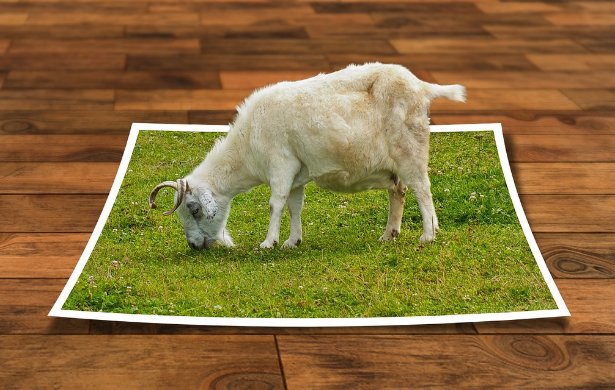
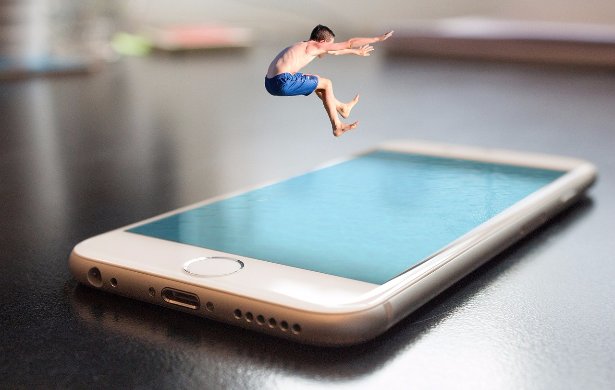
One of the most common photo editing questions is how to remove a background. It is an often asked question because when you remove a background the potential of any picture is truly unlocked to an editor. It allows you to create new backgrounds or combine different pictures. This allows for great versatility, fun, and creativity. The ability to change a background is a wonderful and incredible use for iPiccy Photo Editor. That is because iPiccy has different tools for changing your background, some that directly erase parts of the image, while others lift parts from the photo and move them, and you can even do more than that!
How To Use The Background Eraser in iPiccy
The first method for erasing backgrounds in iPiccy Photo Editor is using the tool "Erase Background". I would highly suggest saving a separate copy of the photo you're about to work on before using this tool. This tool directly erases the parts of the image that this tool is applied to. Once you apply it, those pixels are gone, so again I highly suggest saving a separate copy of your photo before using this tool.

Step 1. Upload your image to iPiccy.com
Step 2. In the basic editor scroll down to the "Erase Background" tool
Step 3. Adjust the brush size and hardness to your liking, smaller and harder makes it more precise.
Step 4. Erase the area you want gone.
Step 5. Save your work. You're done!
How To Vector Mask in iPiccy
This is a little more complicated of a skill, and will take practice to master. However, vector masking can lift objects out of an image, and that is incredibly useful.

Step 1. Open Your Photo in the Designer
Step 2. Click on the layer you want to extract from on the left side.
Step 3. In the pulldown menu it will say "Vector Mask" click on the plus sign.
Step 4. You can either start from a template shape or just make your own shape. I personally prefer starting from scratch.
Step 5. If you started from scratch just start clicking around the part of the picture you want to extract, you'll see dots forming, click around until you connect the shape. If you started from a template you need to click along the line to add new dots, but you want to move the dots around until you cover the intended area with the green opaque color.
Step 6. Click "Transform Shape" and then "Click To Finish". After this hit done at the top, and you'll see your selected area was extracted.
Step 7. Save your photo. You're done!