
Why edit larger resolution photos? It’s a question you should ask yourself, after constantly hearing it as advice for beginner photo editors. For example working with an image that is 1920×1080 instead of 600×400. Well there are a number of reasons why this is a good practice generally speaking. The most simple answer is that you’ll have more to work with. The answer really can be that simple. There are more specific reasons behind using these bigger files, and not just a waste of memory.
If you have the same image in two resolutions, you should definitely edit larger resolution photos. This is because you can easily resize any photo your needs. Any edit you make will still be there, but also still have the freedom to crop off edges. This way you will still be able to resize to fit your needs if it is smaller than your original pixel size. Let’s say you need a 1280×720 image for a desktop background, and you want to edit the image. If you have a 1920×1080 and a 1280×720 image, using the larger file will allow you to crop out sections of the photo you don’t like. If you crop out of the smaller file, it will then have to be stretched to fit your desktop background. This is because it will no longer be 1280×720 after cropping. Let’s look at an example.
NOTE: YOU WILL NEED TO CLICK ON THESE PICTURES TO SEE THE SIZE DIFFERENCE, THEY ARE JUST THUMBNAILS IN THE BLOGPOST
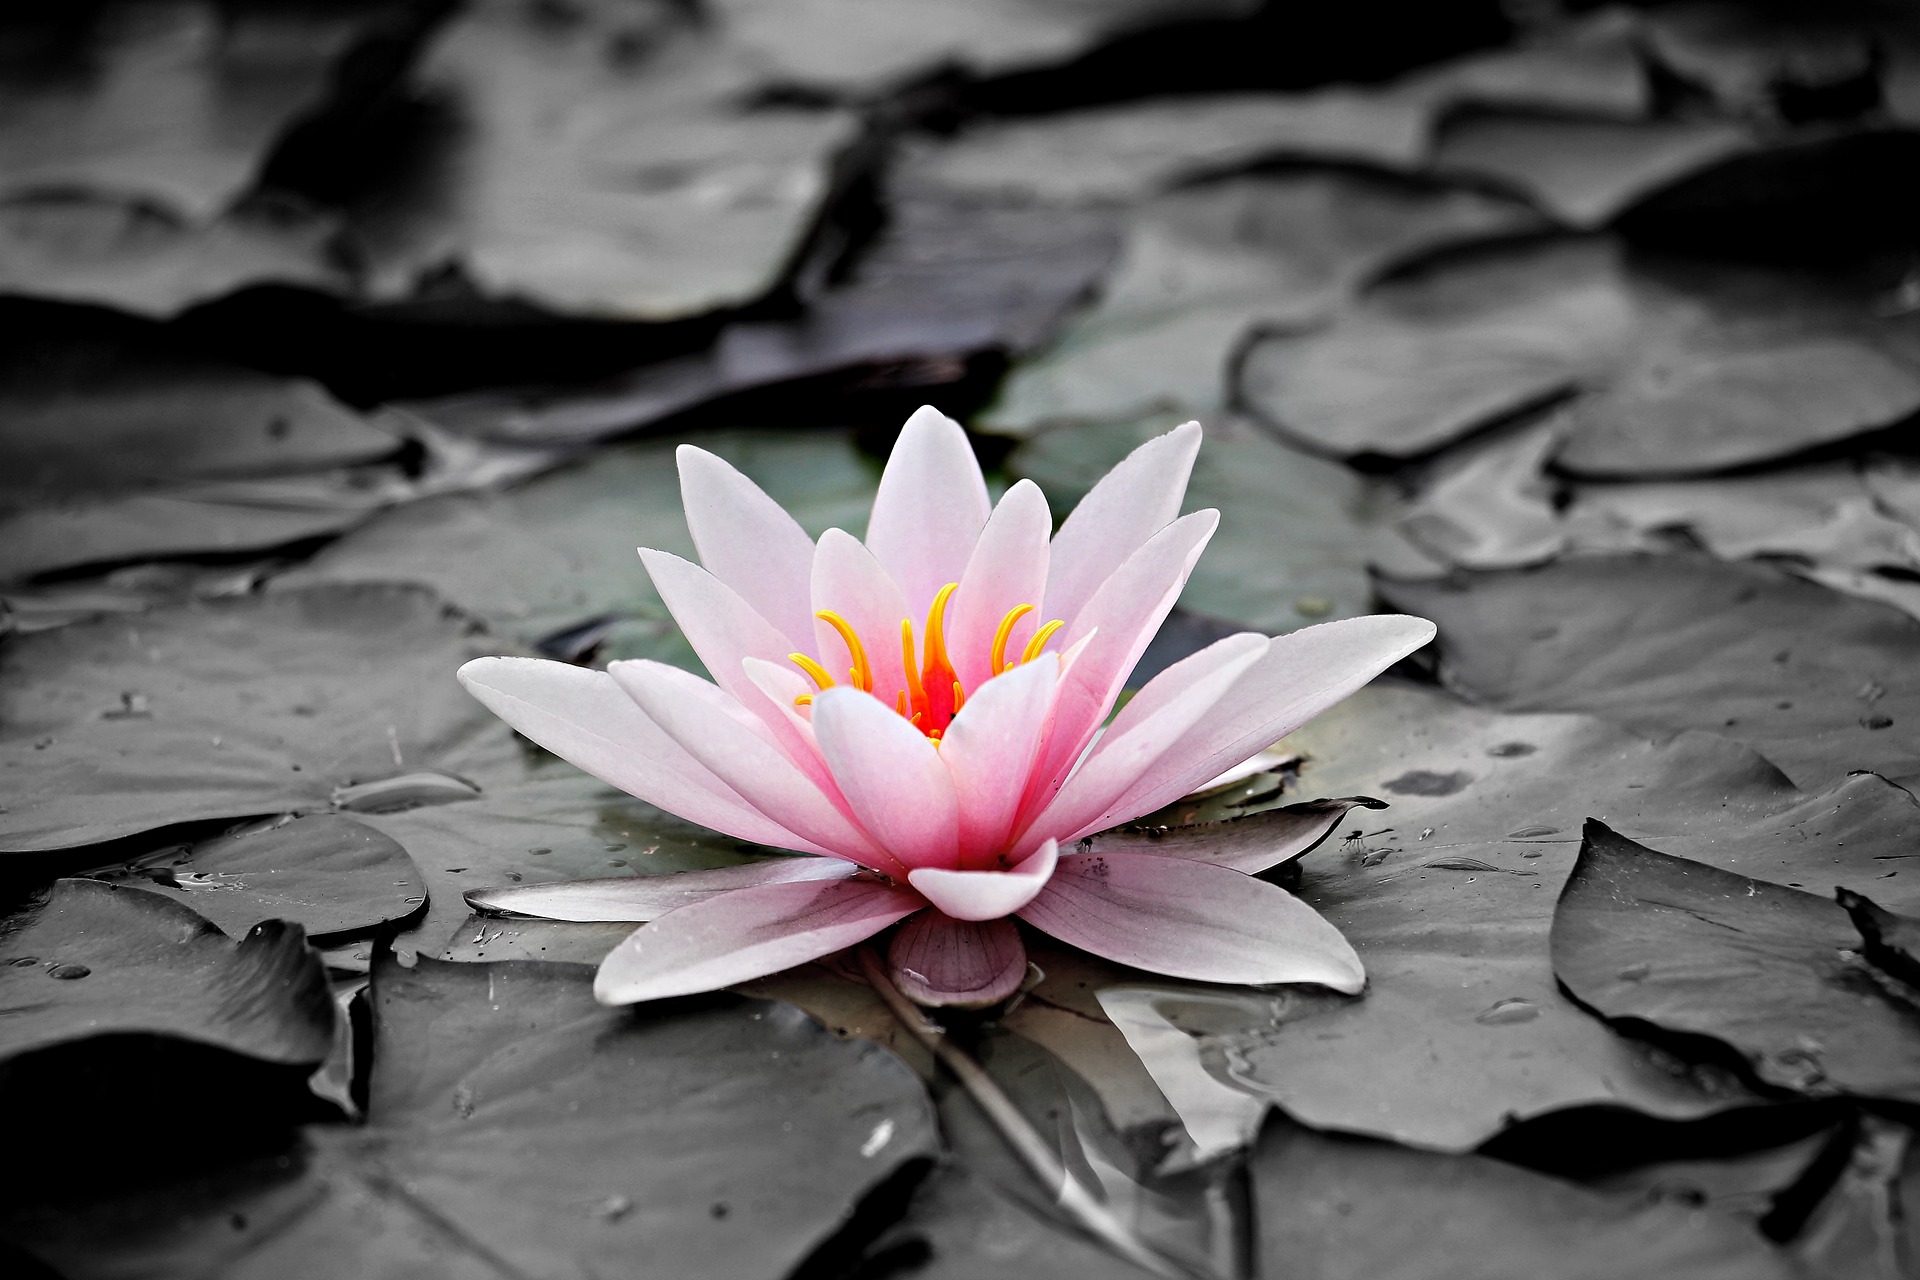
This photo is 1920×1080
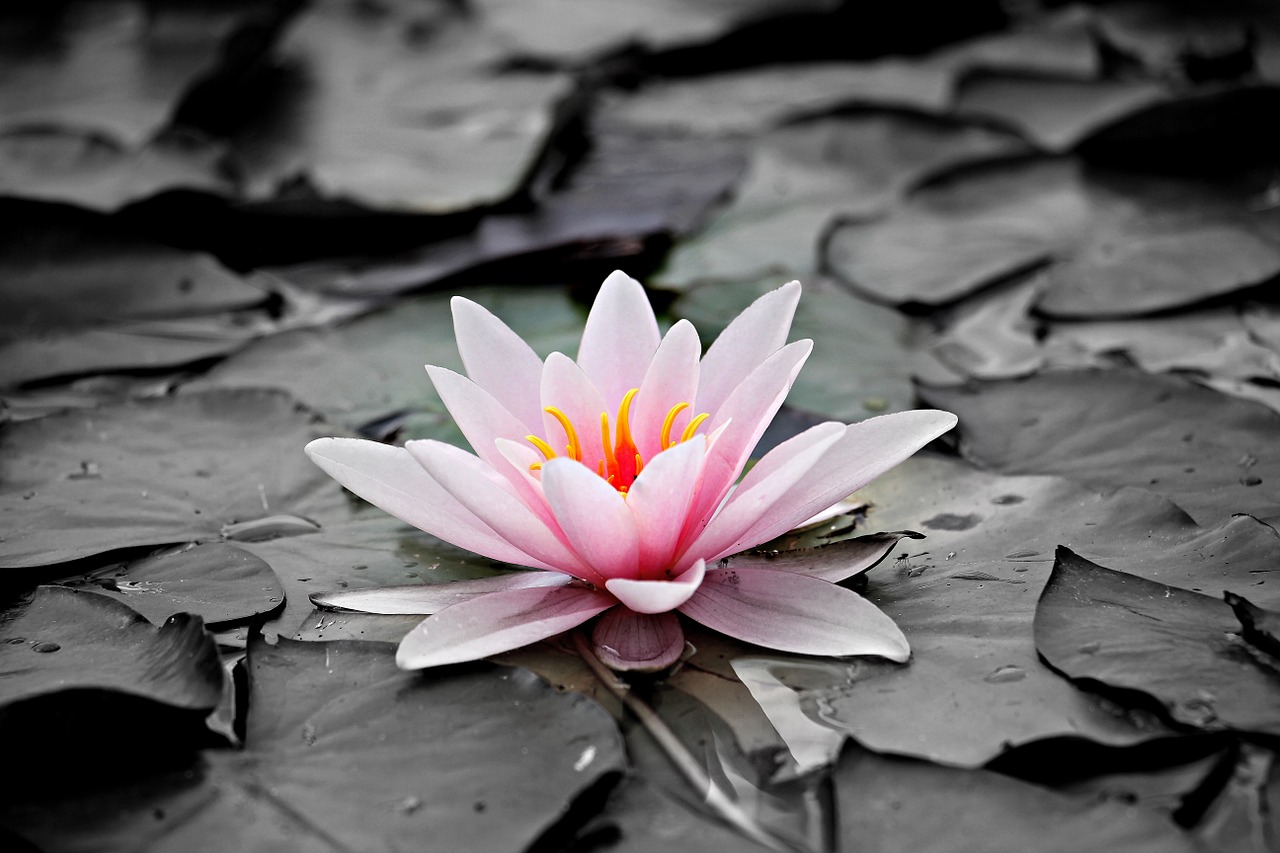
This photo is 1280×853
So with these two sizes, let’s say you want to crop out some of the photo to make the flower in the middle a bigger focus.

The 1280×853 file, now that I cropped to focus on the flower is only a file pixel size of 768×512. That means it requires stretching if it were needed to fit into anything larger than 768×512. This causes grainy images and ugly stretches.
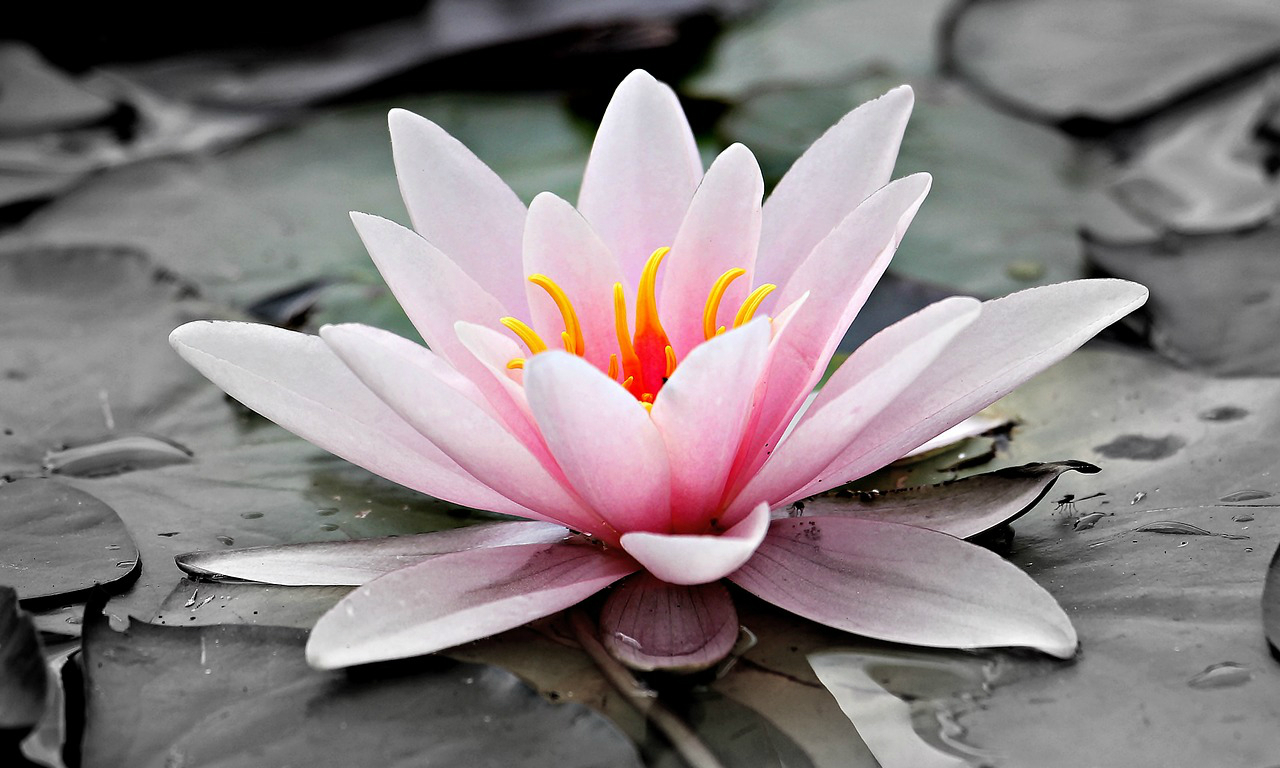
This is the 1920×1080 image cropped down to 1280×768. It still makes the flower a center subject and larger by “zooming” but what I really did was crop out pixels. However, because I had enough extra pixels, I was able to delete a large chunk and still have a sizable picture left over. This picture could fit into more prerequisites than the previous picture.
The lesson is that it is always easier to make a photo smaller and still have it look good. It’s a real uphill challenge to make a photo larger and not have it get grainy/noisy.
However, there are times where photo size will make little to no difference on your photo editing. For example, if you’re adjusting the the contrast, brightness, and things of that nature, it won’t matter which size photo you choose. As long as the photo fits in with whatever your final need is, you’re fine.
95% of the time there won’t be a reason to not use the larger resolution photos as a starting point. Larger resolution photos allow you to crop and delete more of the photo, and prevent having exceptionally grainy areas. There are a few cases in contrast to this, like when adjusting things like sharpness, you’ll want to do this on the final product and not on the larger file pre-crop.