
Color correction is the most important basic photo editing principle that can make or break your image. You’ve probably heard the term “color correction” before, and the name is pretty self explanatory, but it might be the case that you’re still unfamiliar with how to do it and what tools are involved. It is one of those concepts that can be easy to understand but hard to master.
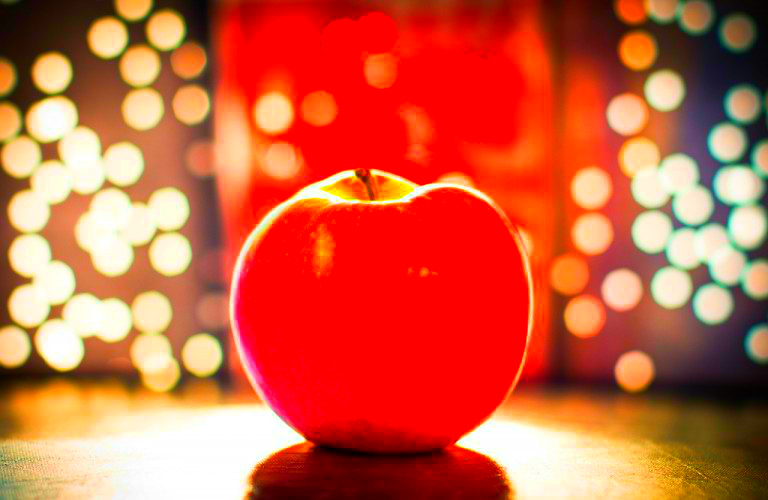
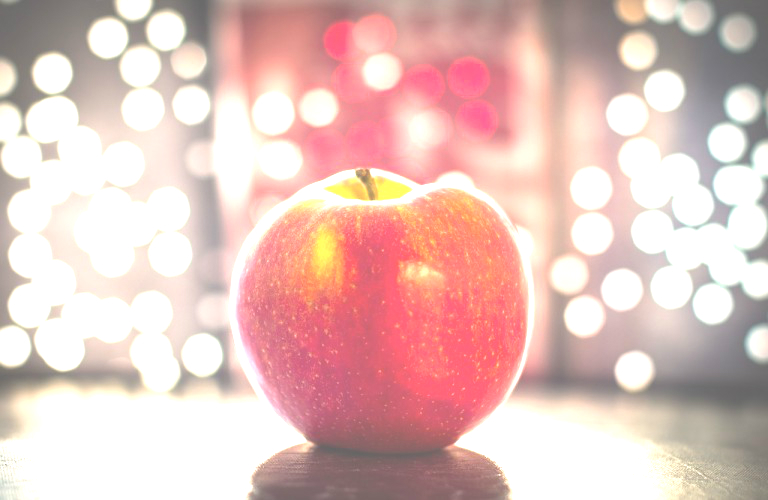
However, I would argue that color correction is the single most important thing you can learn to do when it comes to photo editing. This is because there is practically never a reason to not do color correction. Any photo taken by anyone, even professionals, can likely benefit from a good once over with a good color corrector. Here are a few examples of what color correction can do:
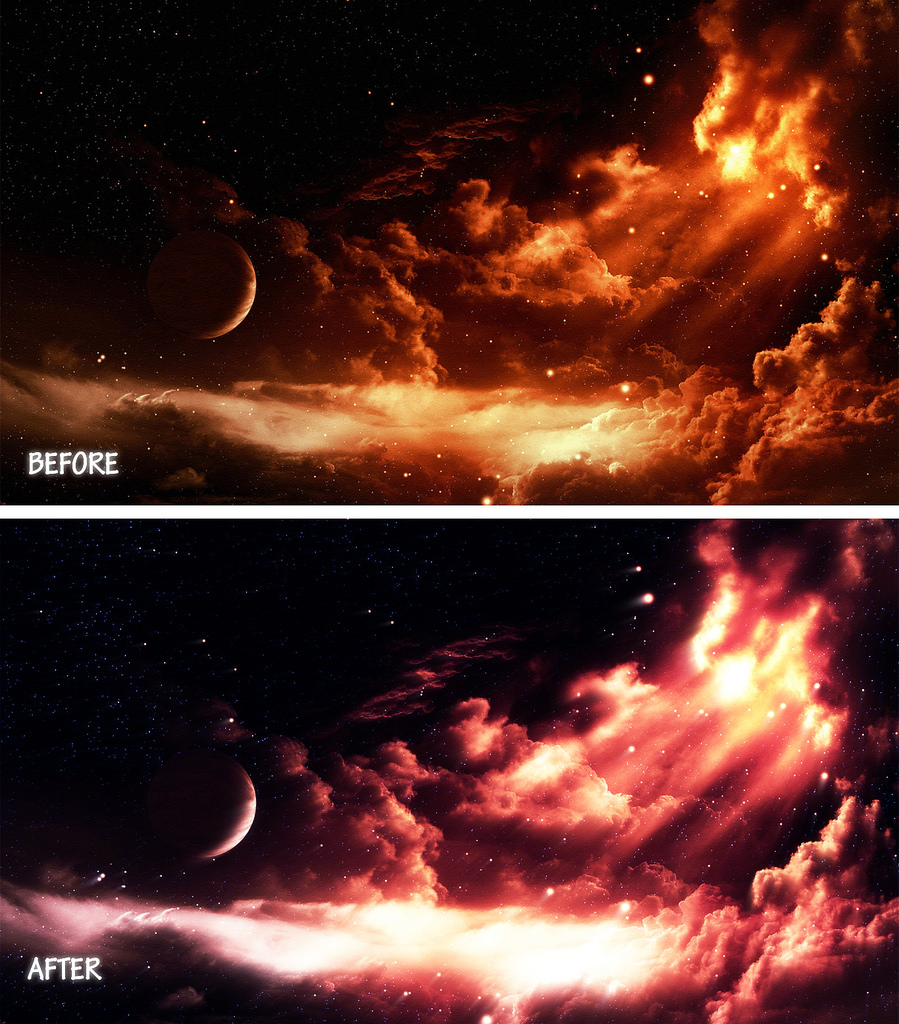
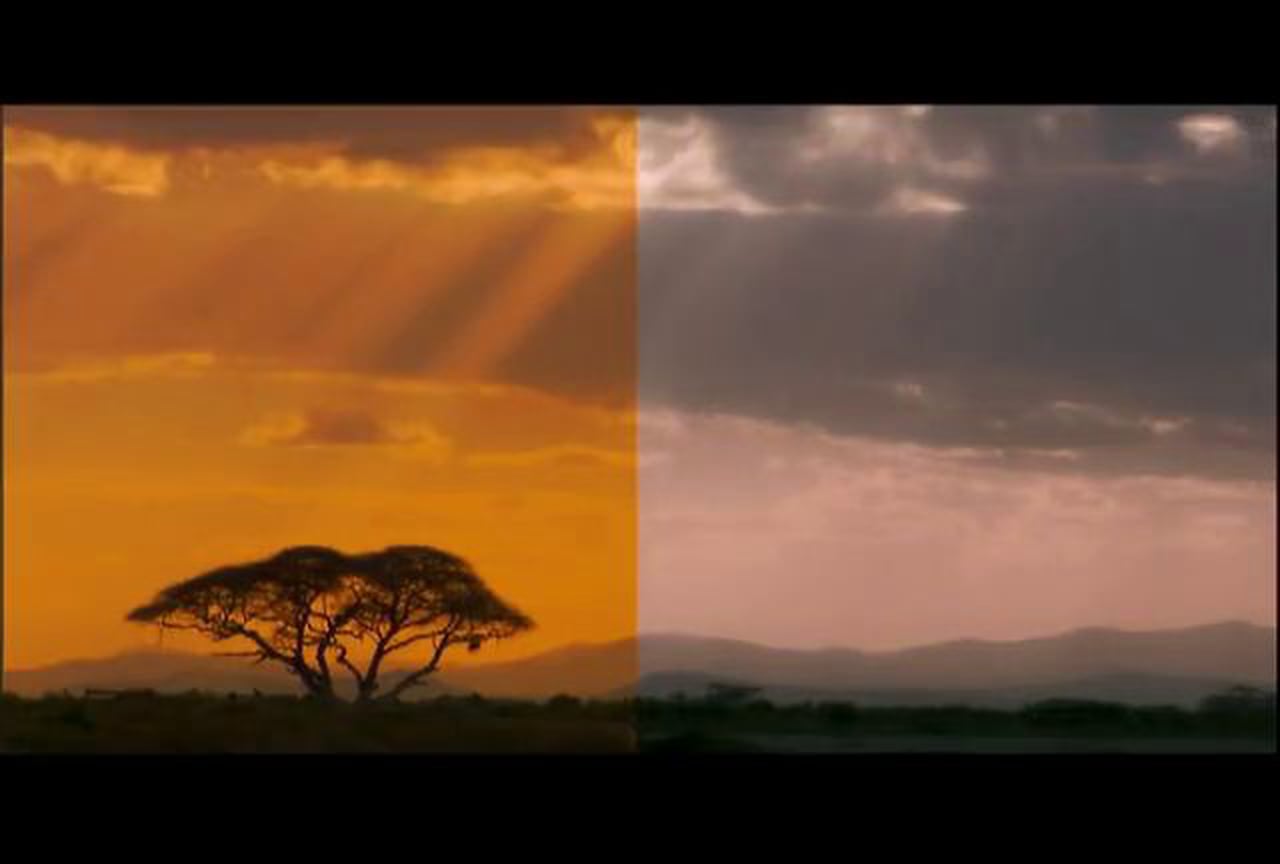
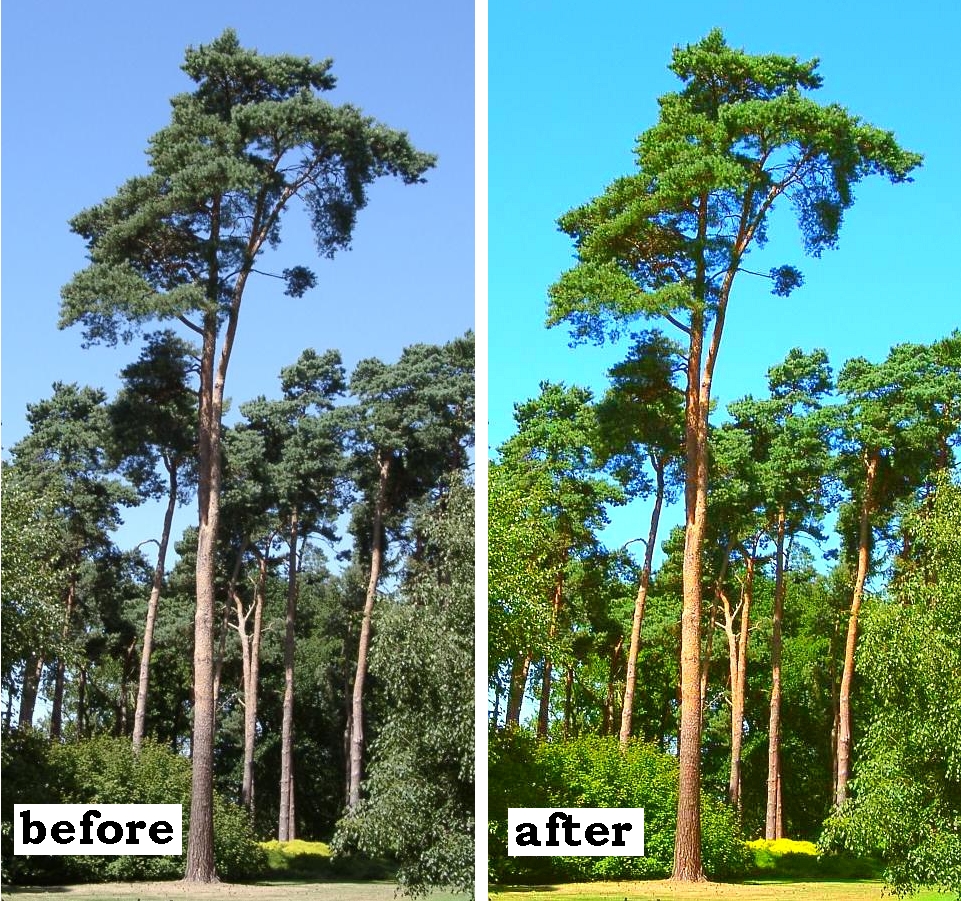
It makes a pretty incredible difference doesn’t it? You can color correct for a number of reasons as well. If you feel like your photo needs a darker feeling you can adjust for that. This is done by taking some of the color out of the photo or putting a filter over it. If you want it to feel extra lively and vibrant you can exaggerate the saturation of the colors and make them extra bright. iPiccy Photo Editor is proud to provide you with numerous options when it comes to color correction and photo editing. Whether it’s hue, saturation, contrast, levels, or curves that you need to adjust, iPiccy Photo Editor is ready to help you with any of that.
The best way to get familar with those tools is to use those tools, but let’s go over them briefly so you get a decent idea about what each tool can do.
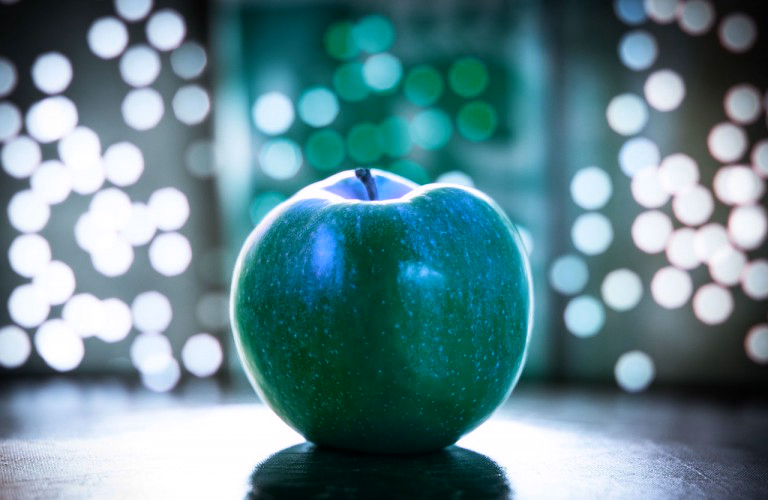
Hue – Hue will essentially give photos a tint of either blue, red, green, or yellow.
Saturation – Saturation will determine how intensely colored the colors are. Either it will make them vibrant and runny, or it will make it dull and possibly even greyscale.
Lightness – Lightness will just essentially make it look like the photo was taken in a darker area or lighter area
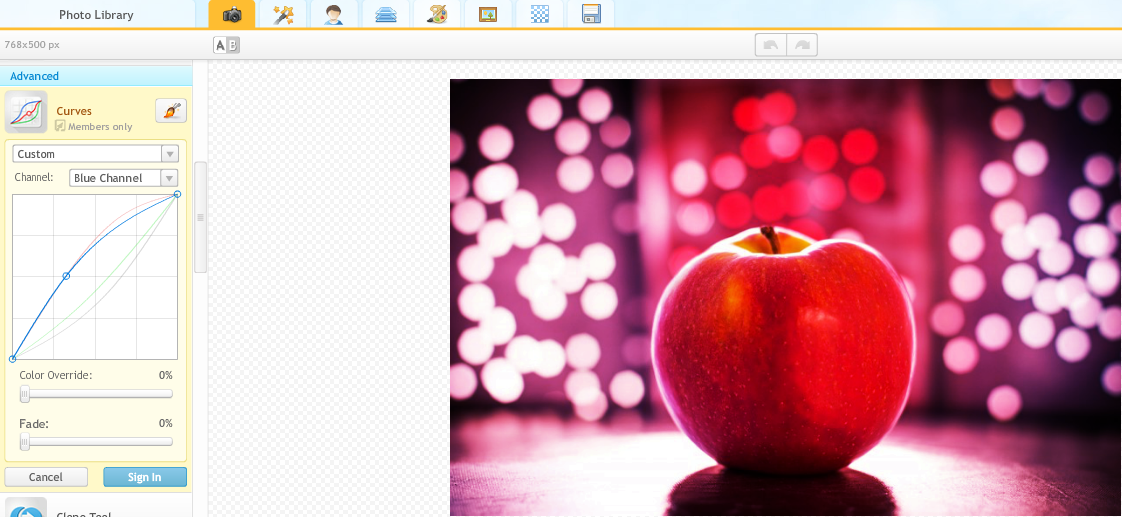
Curves – Curves is a more in depth version of the previous three mentioned as it allows you to control each in a more fine tuned manner. As you lower and raise curves it will lower and raise the intensity of that chosen color or light curve.
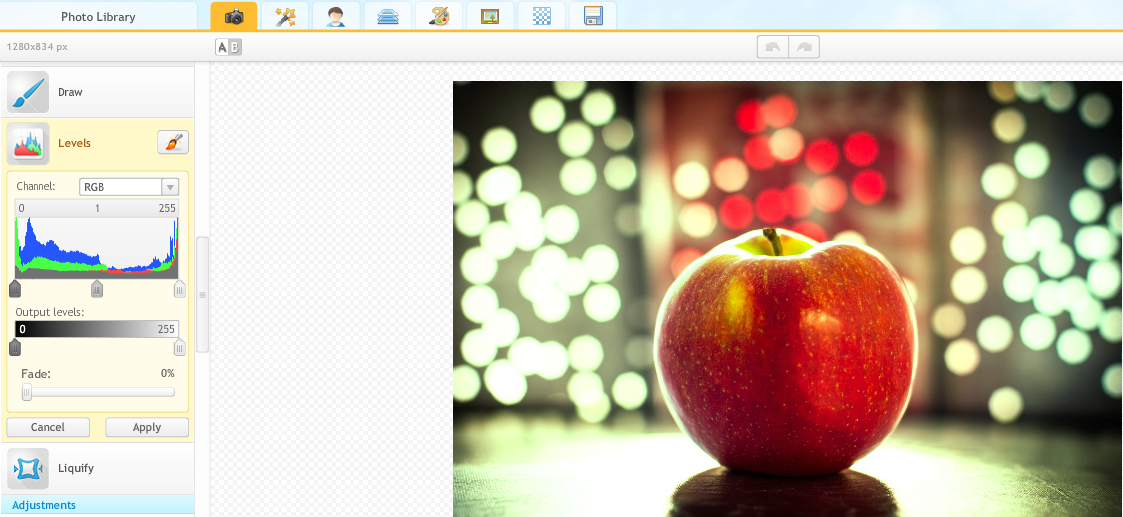
Levels – Levels allow you similar adjustment to curves. It also shows you what your photo is made up of and can give you an idea of what color is dominating your picture if any, and from there you can work which way you’d like it to go.
Because we’ve mentioned that there are multiple and numerous tools that color correct in iPiccy Photo Editor. Let’s just talk about how to start and open them in general. They are all fairly intuitive to play with and once you begin adjusting you will learn quickly.
Step 1. Upload the photo to iPiccy Photo Editor
Step 2. Stay in the Basic Editor tab, this is the color correction tools are found
Step 3. Select your chosen color correction tool from almost anywhere on the list of tools in this tab. You’ll find curves and levels in the advanced section of this tab. You will find hue and saturation in the basic section.
Step 4. Apply and use as necessary for your photo. You should use these tools with a goal in mind though to stay focused and not just randomly change colors.
Step 5. Save your work. You’re done!
NOTE: As with any photo editing you do, it’s important to save a copy before you do anything, this way you can compare or start over from the beginning if you want to.