
The Toolbox is going to be a series of articles in which we go one by one discussing the tools available in iPiccy Photo Editor. We’ll talk about the strengths, weaknesses, and appropriate times to use these tools. Last time we talked about how the Red Eye Remover but today we’re talking about how to use the Teeth Whitener. The teeth whitener is an excellent tool to learn because it’s very easy to use. On top of that, it is quite practical as often times teeth they are not as white as we’d like them to be in photos. Yellow teeth can happen for a various number of reasons, and are not necessarily reflective of how you take care of your teeth and hygiene. On top of that, sometimes there are moments where light reflects poorly on your teeth and they appear stained. That’s just unfair!
Good thing there is a solution for all of this as I previously mentioned. It’s even a super easy solution. Teeth whitener is one of the easiest tools to learn on iPiccy Photo Editor. It really is designed to be used by anyone, even those that might not consider themselves photo editors or computer savvy.

It’s often underestimated how much simplicity counts for when using a photo editing tool. Yes, a majority of the time it is nice to have an in-depth tool, that has many different tuning and changing options. When you have tools like that, you can adjust minute details and do exactly what you have in mind. However, for a task as simple and redundant as teeth whitening is, you want a simple, and easy tool.
There are cases where you need to do the same exact thing to 5-6 photos. It’s not uncommon at all either to have to do a red eye fix or teeth whitener on multiple photos. This is because oftentimes the same issues come up if photos are take in the same situation. That’s just if you’re a beginner or having fun with your camera. Extrapolate that to hundreds of photos for anyone doing it as work, and you’ll see why having a tool that’s essentially 2 clicks and a brush is perfect.
Step 1. Upload your photo to iPiccy Photo Editor
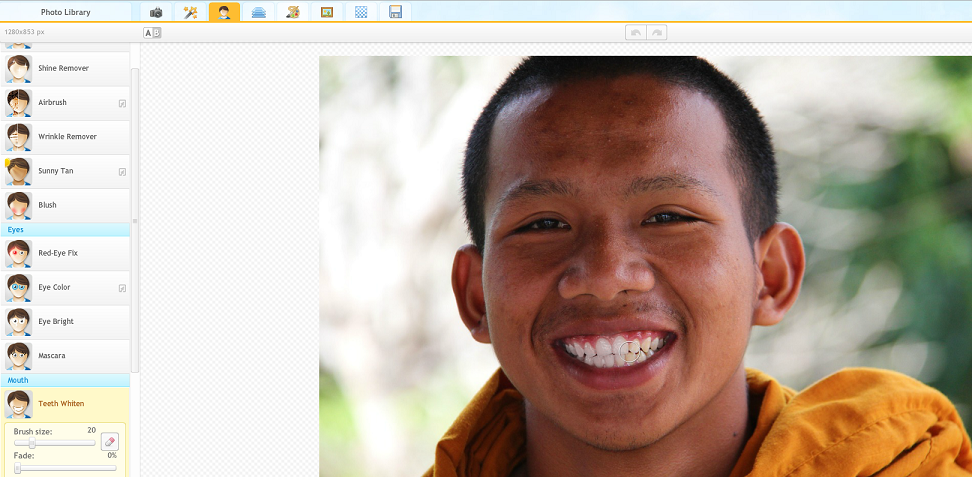
Step 2. Open the “Retouch Tab” which is the third tab at the top
Step 3. Select “Whiten Teeth” and adjust your brush accordingly and apply the effect as necessary. Don’t forget to fade it allows the effect to look more natural
Step 4. Save your work. You’re done!